
ComfyUI Extension: ComfyUI-8iPlayer
Run ComfyUI workflows without the setup
No installs, no CUDA version roulette, no GPU sitting idle on your bill. Bring a workflow and run it in the browser.
README
✨ ComfyUI-8iPlayer ✨
Developed for Kartel.ai by Lovis Odin
<a href="https://Kartel.IAI"><img src="assets/kartellogo.avif" alt="Kartel.IAI Logo" width="100"></a>
A custom node for ComfyUI providing an interactive 3D viewer for 8i volumetric videos (MPD format), allowing frame capture and integration into workflows.
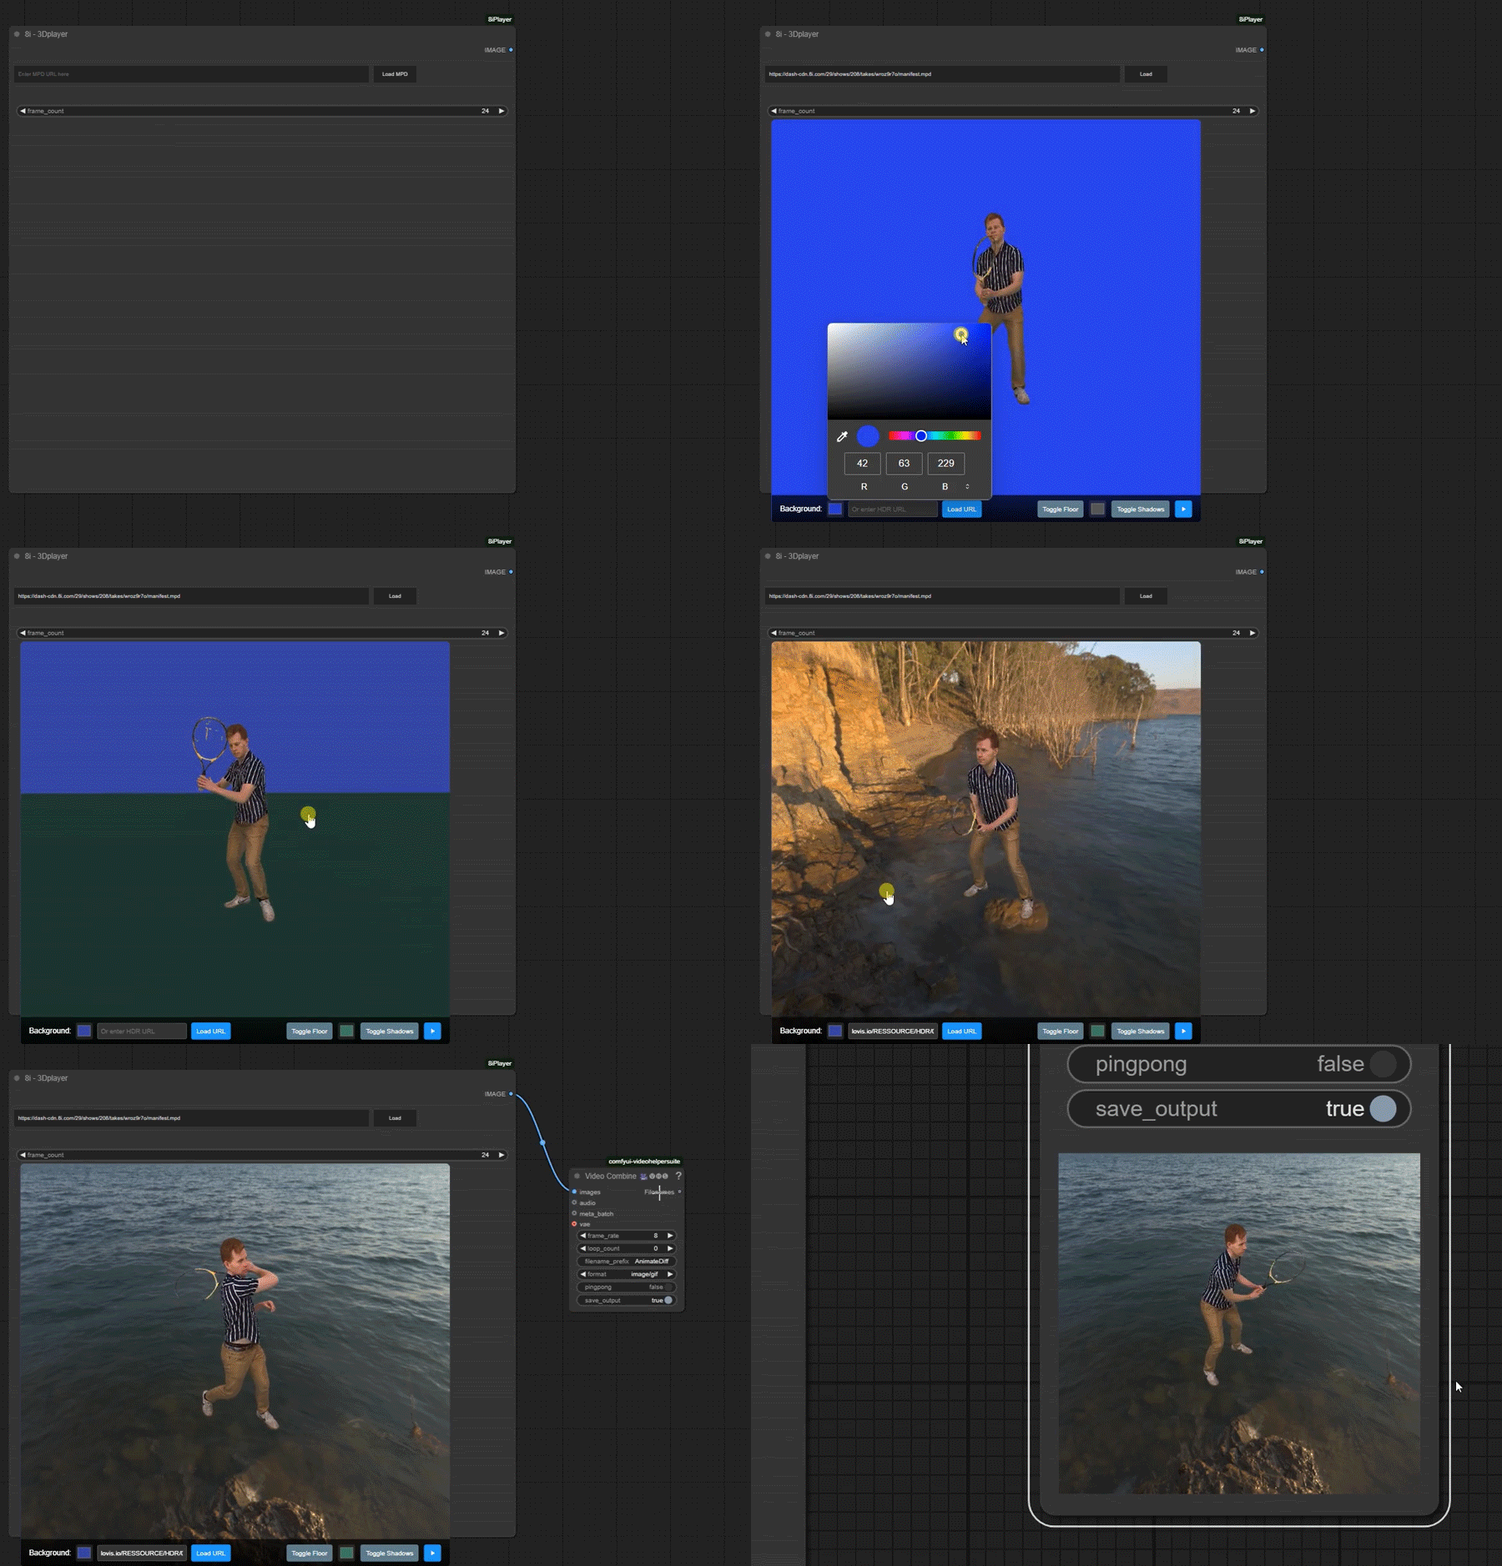
🚀 Key Features
- 🖼️ Interactive 8i MPD Viewer: Load and view 8i videos via URL.
- 🎞️ Frame Sequence Capture: Grab frames from the video timeline.
- ⏯️ Playback Controls: Smart play/pause functionality with visual feedback.
- 🎥 Camera Animation System: Record keyframes and create smooth camera animations between them.
- 👀 Animation Preview: Preview camera movements before capture with smooth transitions.
- 🎨 Customizable Background: Use solid colors or HDR environment maps (via URL).
- 🧊 Toggleable Floor: Add an optional ground plane.
- ☀️ Toggleable Shadows: Cast shadows onto the floor (requires floor).
- 🔄 Update Node: Force ComfyUI recalculation with visual feedback.
- ⌨️ Enhanced Camera Controls: Full 360° rotation, keyboard controls (WASD + QE), extended zoom range.
- 📦 Outputs: Provides captured frames as an
IMAGEbatch.
🙏 Foundation & Core Credits
This node heavily utilizes and adapts code from the excellent comfyui-mixlab-nodes project by shadowcz007, particularly for the web viewer interface and the underlying structure connecting the frontend controls to the backend execution.
🛠️ Installation
- Navigate to your ComfyUI
custom_nodesdirectory:cd ComfyUI/custom_nodes/ - Clone the repository (from Kartel.IAI):
git clone https://github.com/Kartel-IAI/ComfyUI-8iPlayer.git ComfyUI-8iPlayer - Install the required dependencies:
cd ComfyUI-8iPlayer pip install -r requirements.txt - Restart ComfyUI. ✅
🎮 How to Use
- Add the "8i - 3Dplayer" node to your workflow.
- Paste the 8i
.mpdmanifest URL into the node's panel.- You can obtain the MPD URL directly from the official 8i Web Player. Click the dedicated button on the player interface to copy the manifest URL.
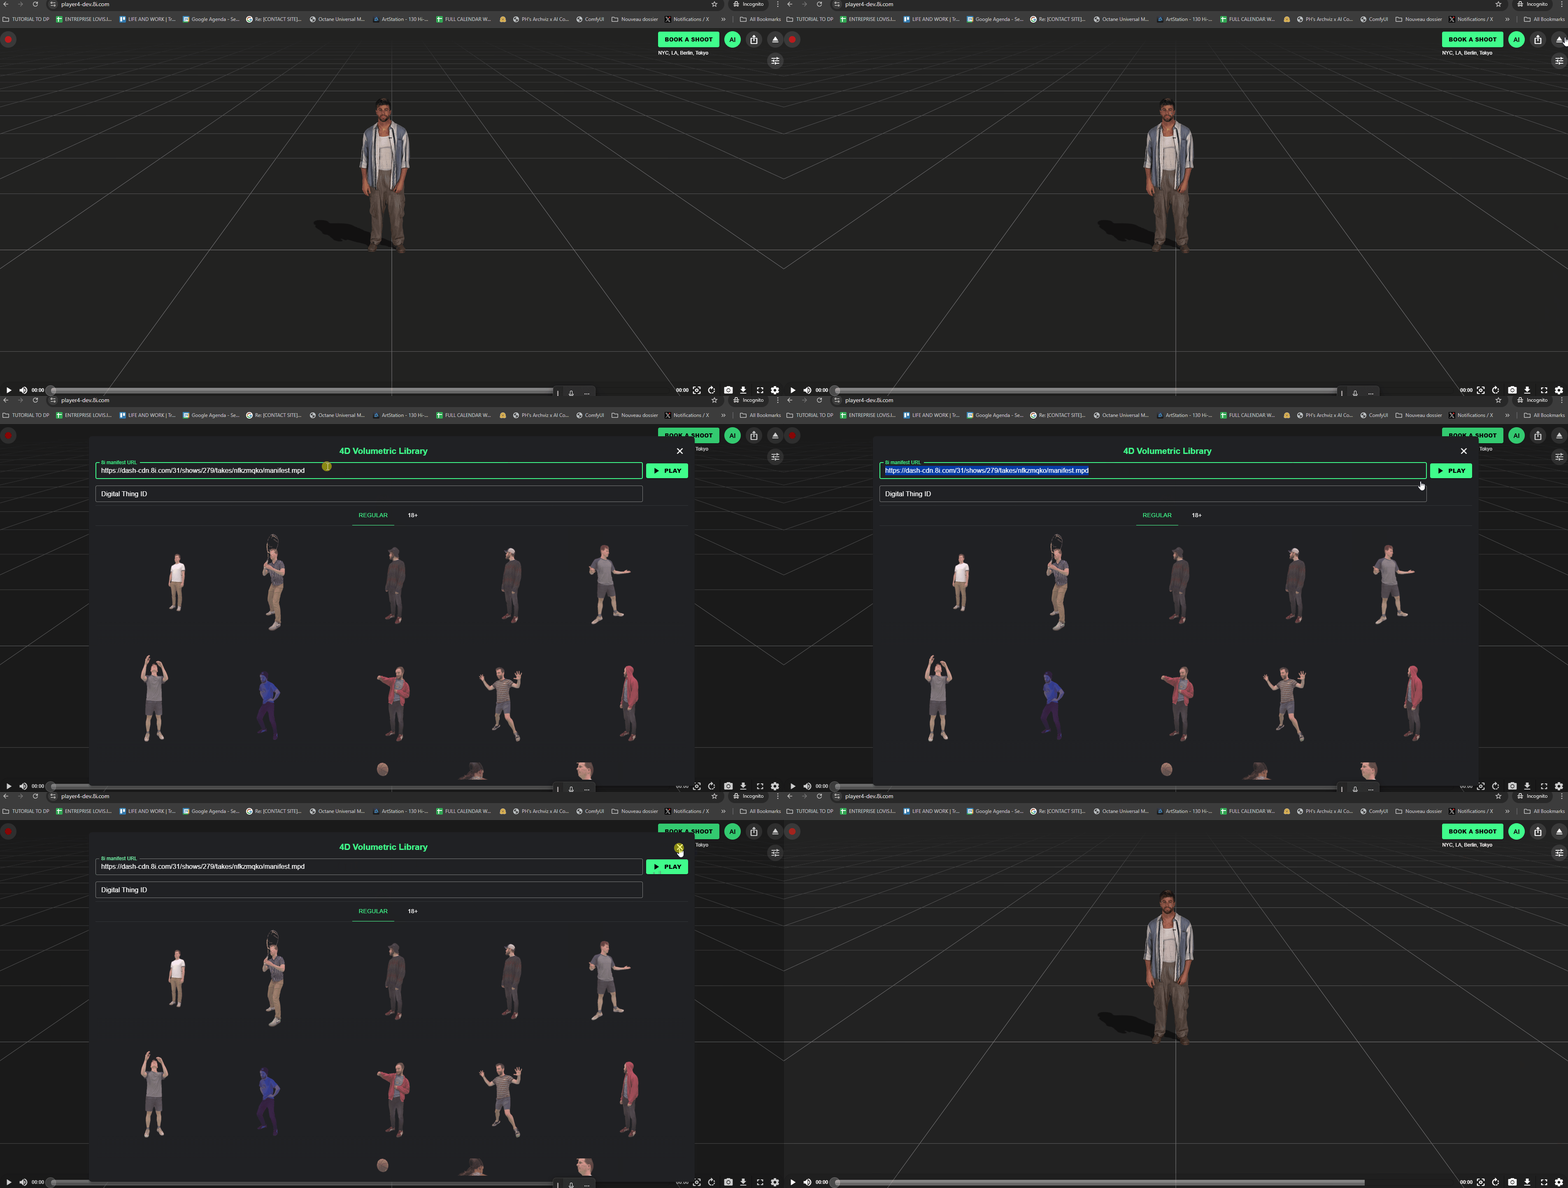
- Click "Load MPD". The hologram should appear.
- Use the panel controls to adjust:
- Background (Color Picker / HDR URL + Load Button)
- Example HDR URLs: You can try these links:
https://lovis.io/RESSOURCE/HDR/01.hdr
https://lovis.io/RESSOURCE/HDR/02.hdr
https://lovis.io/RESSOURCE/HDR/03.hdr
https://lovis.io/RESSOURCE/HDR/04.hdr
https://lovis.io/RESSOURCE/HDR/05.hdr
https://lovis.io/RESSOURCE/HDR/06.hdr
- Example HDR URLs: You can try these links:
- Floor (Toggle Button / Color Picker)
- Shadows (Toggle Button)
- Playback (Play/Pause Button)
- Background (Color Picker / HDR URL + Load Button)
- Use mouse and keyboard for camera control:
- Mouse: Left-drag: Orbit (unlimited 360°) | Right-drag: Pan | Scroll: Zoom (0.1-1000x range)
- Keyboard: WASD: Move forward/backward/left/right | Q/E: Move up/down
- Camera Animation System:
- Orange border on play/pause button indicates camera keyframes are recorded
- Preview button: Test camera animations with 3-second smooth transitions
- Camera positions are automatically interpolated during frame capture
- Update Node button: Purple button to force ComfyUI recalculation (turns green when clicked)
- Set the desired
frame_counton the node input. - Connect the
IMAGEoutput to the next node (e.g., VAE Encode, Preview Image). - Queue Prompt! ▶️ (Adjusting the camera view also triggers execution on the next run).
⚙️ Node Details
Node: 8i - 3Dplayer (3DImage)
- Inputs:
frame_count(INT): Number of frames to capture (Default: 24, Min: 1, Max: 120).upload(Internal): Handles data from the web UI._camera_timestamp(Internal): Triggers re-execution on camera change.
- Outputs:
IMAGE(IMAGE Batch): The sequence of captured frames.
🧪 Example Workflows
Download the example workflow JSON files from the workflow_examples directory.
-
FLUX Enhancement: Takes captured frames and uses the FLUX model for realism.
- Workflow File:
workflow-8i-flux-v01.json 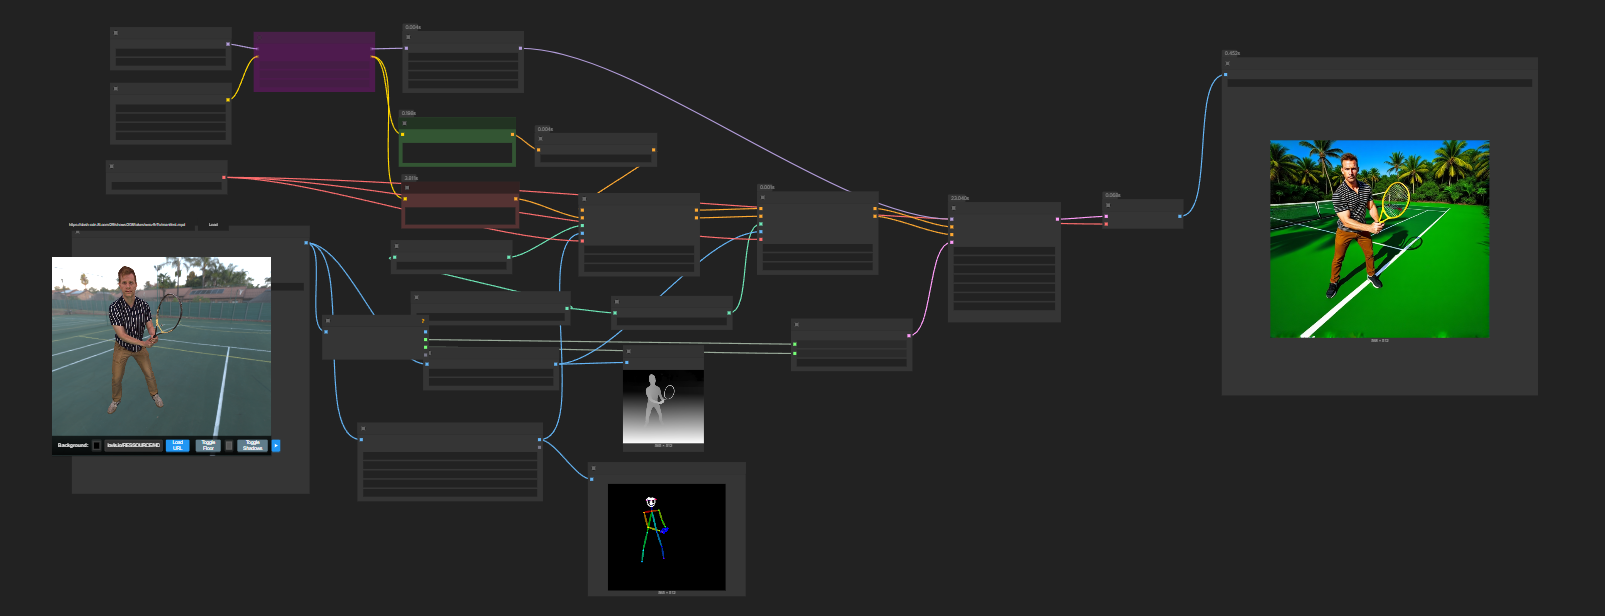
- Workflow File:
-
Wan 1.3b Basic Video: Uses captured frames with the Wan 1.3b model.
- Workflow File:
workflow-8i-wan-fun-1.3b-v01.json 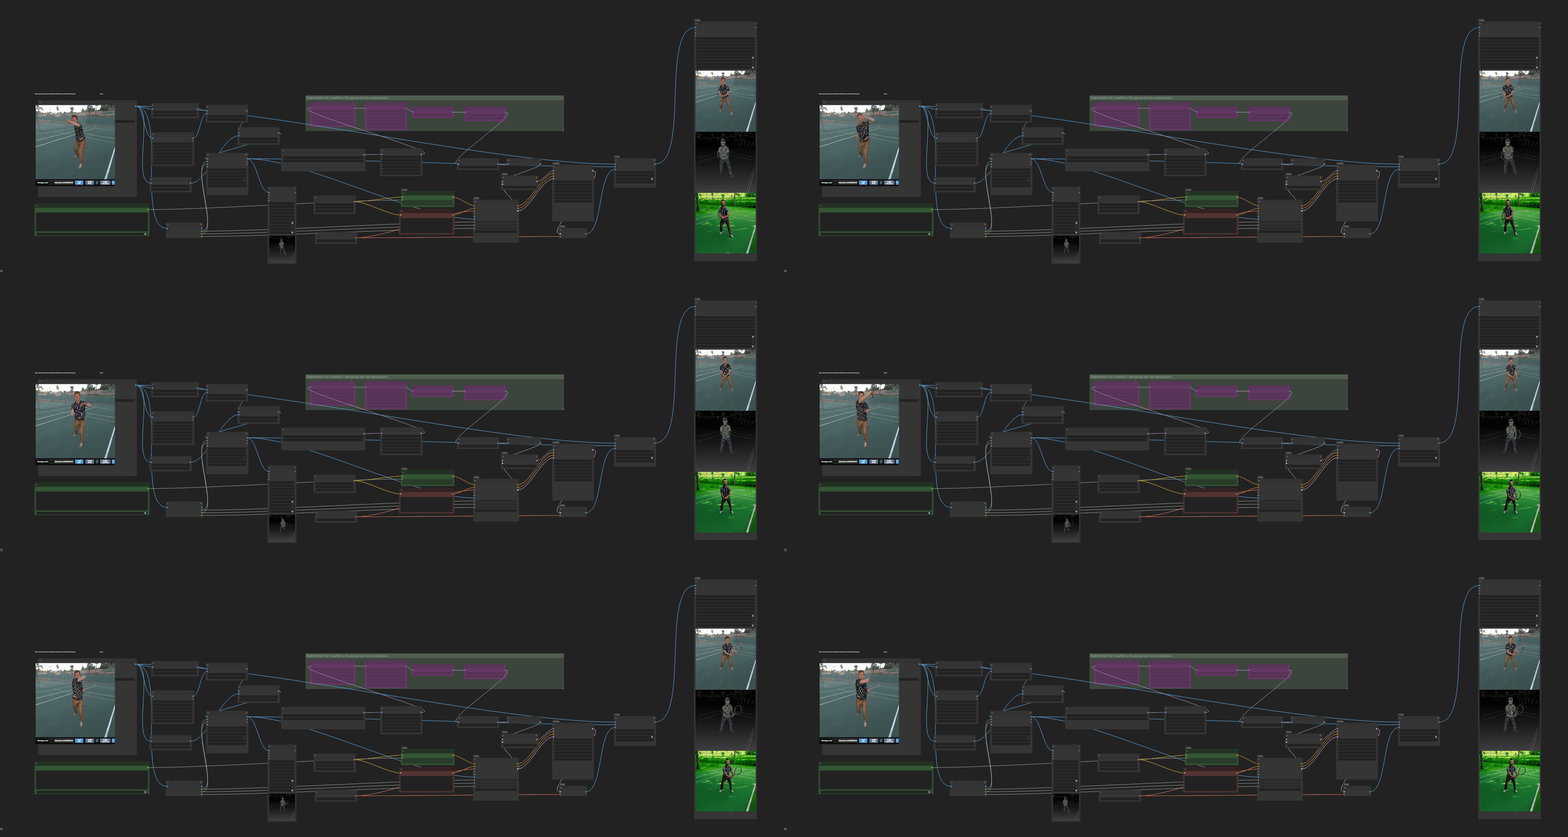
- Workflow File:
-
Wan 1.3b + ChatGPT: Extends the Wan workflow with ChatGPT for prompt generation or other tasks.
- Workflow File:
workflow-8i-wan-fun-1.3b-ChatGpt-v01.json 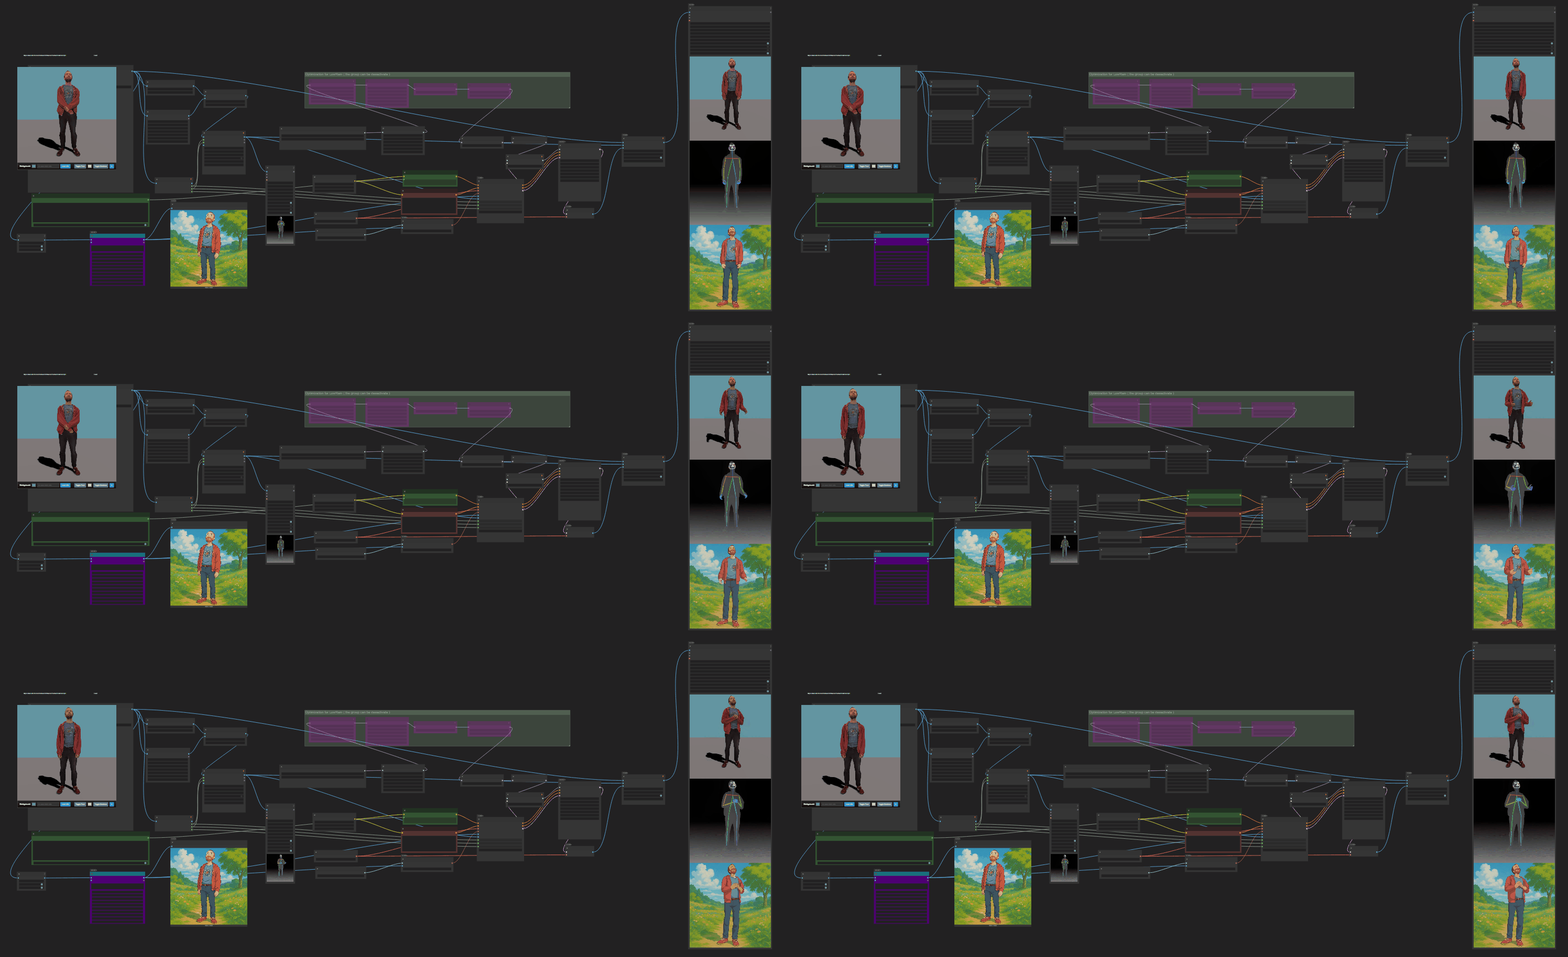
- Workflow File:
-
Wan 1.3b + Vace + ChatGPT: Similar to the ChatGPT workflow but uses Vace for enhanced video processing.
- Workflow File:
workflow-8i-wan-vace-1.3b-ChatGpt-v01.json
- Workflow File:
🤔 Troubleshooting
- Load/Playback Fails:
- Verify MPD/HDR URL is correct and accessible (check CORS).
- Check browser console (F12) for errors.
- If the hologram doesn't load, try clicking "Load MPD" again. Sometimes a second click is needed for proper initialization.
- Viewer Black: Check console; ensure WebGL is enabled in your browser.
- Performance: High
frame_count, large HDRs, and shadows can be demanding.
💻 Technical Details
- Frontend: Built with Three.js.
- MPD Playback: Uses the 8i DashPlayer library.
- Camera: Enhanced Three.js OrbitControls with unlimited rotation and keyboard support.
- Animation System: Linear interpolation between user-defined keyframes with smooth transitions.
- Capture System: Advanced frame capture with camera stabilization during recording.
- HDR Loading: Three.js RGBELoader with improved background color handling.
🤝 Contributing
Pull requests are welcome! For major changes, please open an issue first to discuss.
🔮 Future Enhancements
We plan to add more features, including:
- 🧩 Enhanced Customization: Support for adding multiple characters/holograms, importing custom environments or objects (e.g., GLB files).
- 📊 Export Options: Save camera animations as presets for reuse across projects.
👤 Author
Originally created by Lovis Odin.
📜 License
🙏 Acknowledgements
- Built for the amazing ComfyUI platform.
- Uses Three.js, 8i DashPlayer, RGBELoader.
- Gratitude to the developers of the libraries mentioned above.
🆘 Support
Please report issues via the GitHub Issues page for this repository.
Run ComfyUI workflows without the setup
No installs, no CUDA version roulette, no GPU sitting idle on your bill. Bring a workflow and run it in the browser.